Tired of cutting plastic ties and scratching your hands on those razor-sharp tails? Same.
The zip tie knot I use on jobsites, in the garage, and around camp is a rope-based stand-in that acts like the real thing but reopens cleanly.
It’s commonly called the Jam Hitch—think of it as a taut line hitch flipped inside-out.
Slide it to cinch; load it to lock. No plastic, no waste, no cursing when you need to undo it.
Below is the most complete, field-tested walkthrough I can give you: what the knot is, why it works, how to tie it (with photos in your head), how to build continuous loops down a line, when to choose something else, and how to troubleshoot so it bites hard when it should and slides when you want it to. I’ll keep the tone practical, DJ-style—clear steps, zero fluff.
What the Zip Tie Knot Does and Why You’d Use It
The Jam Hitch is an adjustable friction hitch that grabs a standing line the moment you load it.
It’s basically a taut line hitch turned “outside-first”: two outer wraps that resist opening, then one inside wrap that locks the stack.
That wrap order makes it behave like a plastic zip tie: pull toward the bundle and it zips tighter; apply load and it jams.
Where it shines:
- Bundling cables, hose, tent poles, tomato stakes.
- Making adjustable loops on a ridgeline to hang mugs, lanterns, and tools.
- Cinching soft goods—sleeping pads, tarps, fabric rolls—without crushing them.
-
Temporary lash-downs in a truck bed when you’re out of straps (with limits; more on that later).
Think of it as your reusable jam knot solution for light to medium duty jobs. Tie it, adjust it, remove it—no landfill.
Materials That Make the Jam Knot Work Better
Any cord will “work,” but some make you look like a wizard and some make you mutter.
- Polyester accessory cord (or webbing): Good grip, low stretch, holds a friction hitch shape. My everyday pick.
- Nylon paracord: Elastic, forgiving, but “springy.” Expect a small tension rebound. Works, just re-snug.
- Ultra-slick UHMWPE (Dyneema/Spectra): Amazing strength, terrible hitch behavior. If it’s all you have, add wraps and test aggressively.
-
Diameter: Thin cord bites better on thicker standing lines. On same-diameter lines, add a wrap for bite.

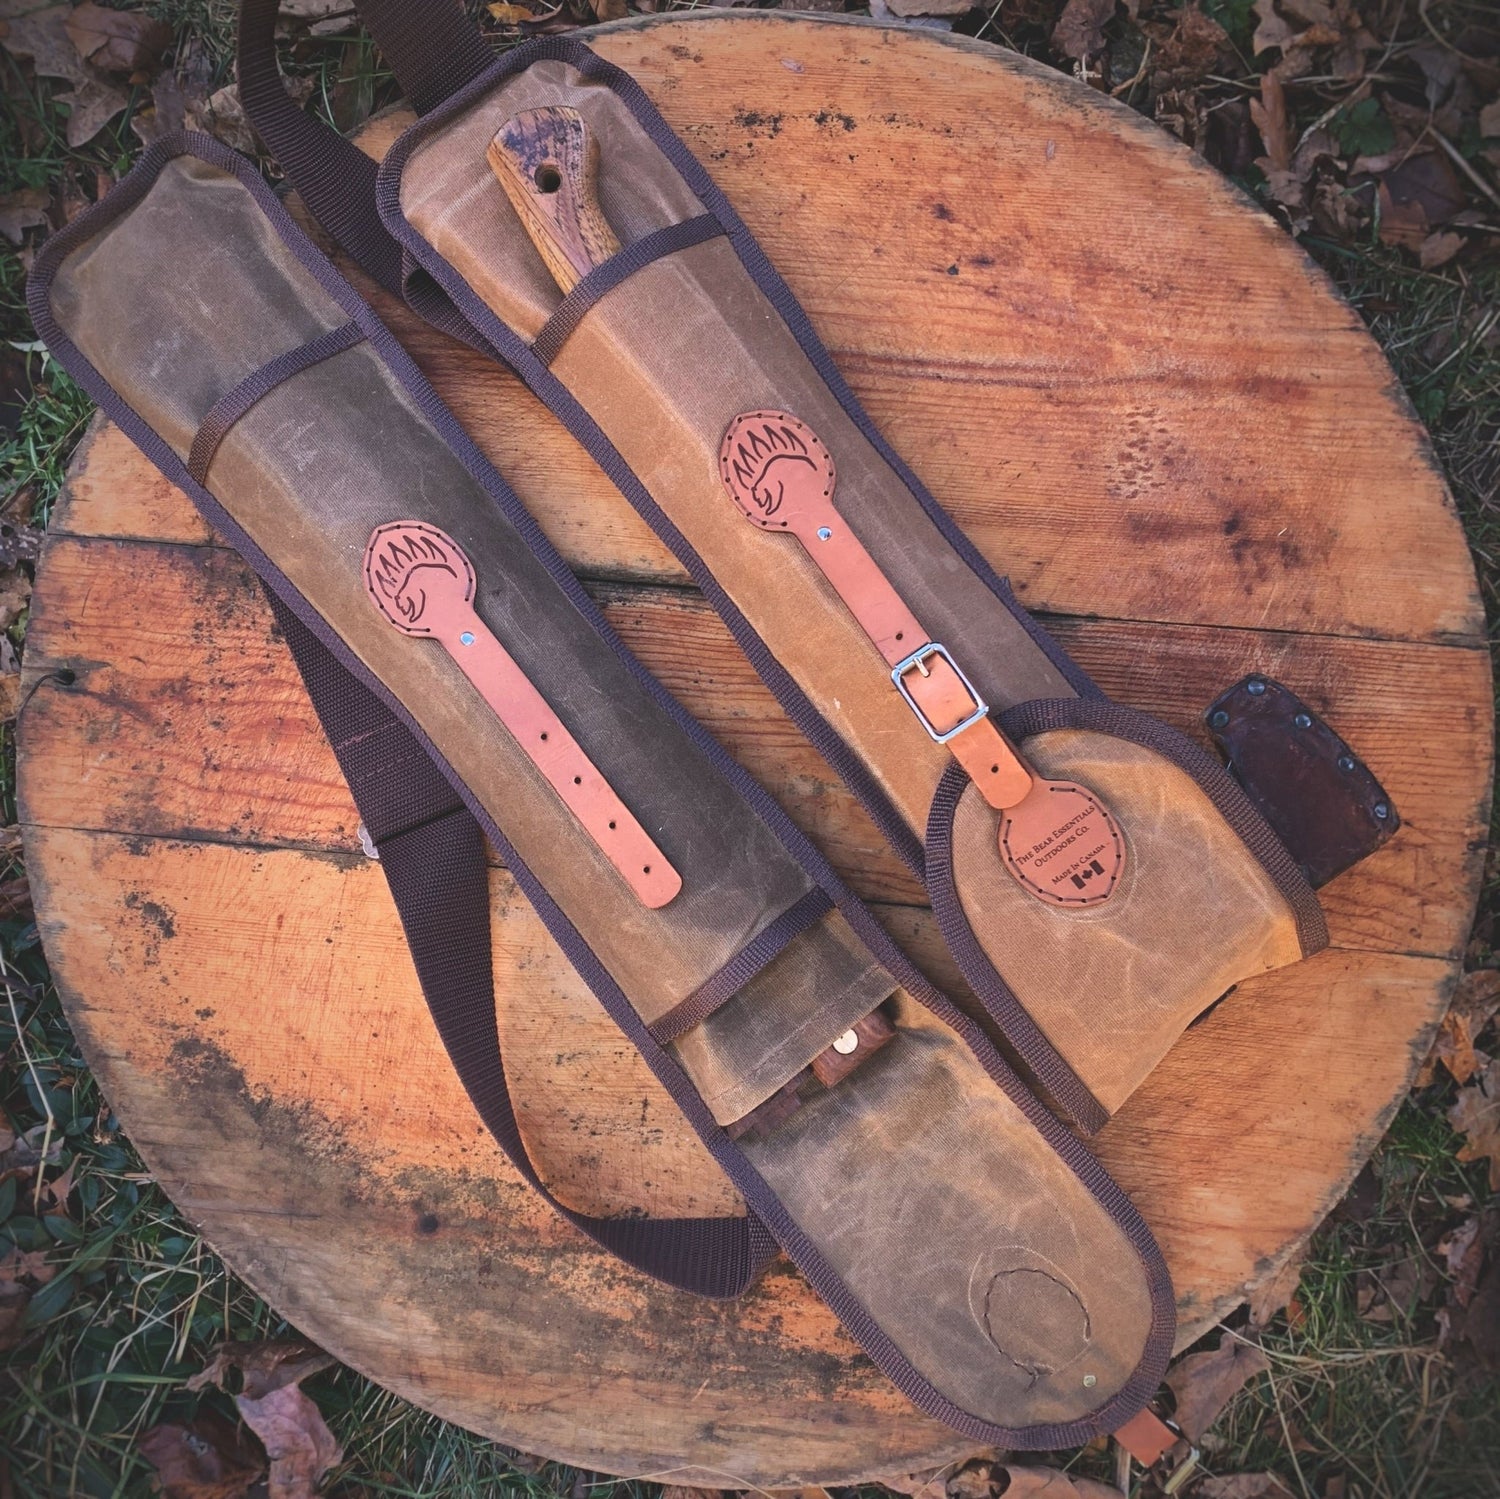
Bear Essentials Premium Bushcraft Paracord - Extra High Strength - 750lbs
Warning: When you truly need tension that stays put on the highway, remember: straps beat hitches. This knot is for holding and bundling—not replacing rated tie-down systems.
How to Tie the Zip Tie Knot (Jam Hitch) Step-by-Step

Learn more about the Jam Hitch in our knot tying tutorials blog.
We’ll assume you’re bundling something—say, a coil of extension cord—or you want a sliding loop on a ridgeline. Same steps either way.
- Wrap the object or the standing line. Bring the working end around your bundle (or point on the line) so you’re back on the side you’ll be working from.
- Make two “outside” wraps on the standing part. Lay the working end across the standing line and coil it twice around that standing line on the outside—meaning the wraps sit between you and the bundle. Keep them parallel and snug. These two outside wraps are the “zip” engine.
- Make one “inside” wrap. Without changing direction, add one wrap on the inside—around the segment that heads toward the bundle (the bight that leads into your wrap around the object). This final inside wrap locks the stack.
- Dress the knot. Slide the three wraps together so they’re tidy and touching—no crosses, no gaps. The cleaner the stack, the grippier the knot.
- Cinch like a zip tie. Grab the knot body (not the tail) and push it toward the bundle. The wraps should glide smoothly. When you load the bundle—by lifting it or letting the line pull—the hitch should jam and hold.
- Adjust or remove. To loosen, take tension off the knot, grip the body, and slide it back. To remove, flip the top wrap open with a fingernail and back the tail out through the coils.
Memory cue: Two outside, one inside. Slide the knot body, don’t yank the tail.

Why The Jam Hitch is Called the “Reverse” Taut Line Hitch
- Taut line hitch: Two inside wraps, one outside wrap. It resists collapsing inward and is perfect for guy lines you pull away from an anchor (tent, tarp).
-
Zip tie knot (Jam hitch): Two outside wraps, one inside wrap. It resists opening outward, which is exactly what you want when you cinch toward a bundle. Same family of friction hitch; different bias and behavior.
Keep both in your pocket. Use taut line on guylines and clotheslines; use the zip tie knot when you want a cinch-and-jam behavior on bundles and hanging loops.
The Continuous Jam Knot: Multiple Adjustable Loops on One Line
One hitch makes a great cinch. Two or more create magic: a tidy tool rail of hanging loops along a single rope.
Use cases:
- Camp ridgeline: mugs, headlamps, pots—each on its own movable loop.
- Garage “French cleat” in rope form: hang hand tools by their handles.
- Pickup bed: spaced loops to corral paddles and stakes (short hops, not suitable for highway restraint or long distances).
How to build it:
- Tension your main line (a small trucker’s hitch or cam cleat).
- Tie the first zip tie knot around the main line to create Loop #1.
- Tie a second a foot away for Loop #2.
-
For Loop #3 and beyond, reverse the direction of the final inside wrap on every other hitch. This tiny change stops one loop from loosening when you load the neighbor—think “hinge” vs “pull-through.”
Dress every hitch tight and test each loop with a shake. If anything creeps, add one more outside wrap to that hitch.

Real-World Uses of the Zip Tie Knot
- Cable & fabric management: Replace single-use ties on cords, rope coils, fabric rolls. Cinch tight, reopen later.
- Camp lines: Adjustable mug hooks, utensil hangers, and a lantern loop that slides.
- Garden & shop: Bundle stakes, organize rakes/shovels, tame air-hose coils.
-
Roof rack / truck bed (light duty): Temporarily bundle paddles, sleeping pads, tent poles when a cam strap isn’t handy. For serious load restraint, run cam/ratchet straps or a trucker’s hitch to proper anchors.
Limitations of the Zip Tie Knot
- Dynamic loads & highways: Use rated cam straps, ratchets, or a proper trucker’s hitch with solid anchors. Friction hitches shine at bundling and organizing; they’re not a replacement for cargo-securement systems.
- Ultra-slick lines / icy conditions: Polyester grabs best; nylon is okay; HMPE is cranky. If your hitch creeps, switch lines, add wraps, or go to hardware.
- Critical safety: If a failure risks injury or serious damage, step up to proper gear. This is ropework, not wishwork.
Troubleshooting the Zip Tie Knot
It slides under load (creeps).
- Re-dress tighter; add one extra outside wrap before the inside wrap.
- Swap to grippier cord (polyester accessory cord is great).
-
Ensure you’re loading the standing line, not inadvertently yanking the tail.
It’s hard to slide when slack.
- You over-set it. Ease the last dress so there’s a small “track.” Then slide the knot body (not the tail).
-
In cold weather, warm the cord in your hands; stiff rope drags.
It deforms or flips.
- You may have crossed the wraps. Undo and retie with parallel coils.
-
On thin cord, a fourth outside wrap stabilizes the stack.
Continuous loops loosen each other.
- Reverse the inside wrap direction on every other hitch. That breaks the “pull-through” tendency.
-
Space loops farther apart if you’re hanging heavy tools.
Zip Tie Knot vs. Other Handy Friction Hitches
- Taut line hitch: Best for adjustable tension away from an anchor (tents, tarps).
- Rolling hitch: Side-pulling a rope (add-a-line to a loaded guy, takes a load axially).
- Midshipman’s hitch: A locked-down taut line variant with extra bite.
-
Prusik: Closed loop that grabs a larger rope for hauling/backup; slides when slack, locks when loaded.
All are friction hitch relatives. The zip tie knot is your bundling specialist.

The Bear Essentials Knot Tying Kit - [Camping Knots Edition]
Step-by-Step Mini Gallery
- Zip Tie Knot (Jam Hitch): Wrap bundle → two wraps on the standing line (outside) → one wrap on the inside bight → dress tight → slide knot body to cinch → load to lock.
- Continuous Jam Hitch: Tie Jam Hitch for Loop #1 → tie Jam Hitch for Loop #2 → for Loop #3 and beyond, reverse the inside wrap every other hitch → test each loop under load.
-
Quick release (optional): Finish by tucking a small bight of the tail under the last wrap for a “slipped” exit. Pull the bight to dump tension fast. (Great for temporary lash-downs.)

Five-Minute Practice Plan
- Chair-leg drills: Wrap a chair leg, tie the zip tie knot, cinch, slide, release. Do it three times without thinking.
- Bundle drill: Take a coil of paracord or an extension cord; tie, cinch, pick it up; drop and reopen.
-
Continuous loop rail: String a line between two hooks, tie three Jam Hitches with the alternating-wrap trick, hang a mug, a wrench, and a mallet. Shake the line; adjust.
You’ll have muscle memory before the kettle boils.
How to Tie the Jam Knot: Pro Tips
- Slide the knot body, not the tail. Pulling the tail can twist and un-dress wraps.
- Short tails, tidy work. Leave just enough tail to re-dress—no wind chimes.
- Color code: I wrap one outside wrap in a contrasting short “whip” of thread on teaching ropes to remind students which side is “outside” as they learn.
- Mark a reference: A Sharpie dot on the standing line behind the hitch shows creep at a glance.
- Finish flat goods with love: On straps and webbing, keep wraps flat and aligned; a twisted coil loses bite.

KNOT IQ - 3D & Offline Knot Tying App
Frequently Asked Questions
Is the zip tie knot the same as a jam knot?
Yes—Jam hitch, zip tie knot and reverse taut line hitch are common names for the same structure: two outside wraps, one inside wrap.
Can I tie it with paracord?
Absolutely. Expect a bit of spring in the system. Add a wrap if it creeps.
Will it hold a ladder on a roof rack?
No. Use rated cam/ratchet straps and proper anchors. This hitch is for bundling and hanging, not highway restraint.
How many wraps should I use?
Standard is two outside + one inside. On slick or small cord: three outside + one inside.
Can I use it on webbing?
Yes, but keep the wraps flat; dress carefully for bite.
Zip Tie Knot vs. Plastic Zip Ties
- Reusability: One cord replaces a box of plastic.
- Safety: No sharp cut tails, no “oops” cuts in the wrong place.
- Control: Infinite adjustment without ratcheting past your stop.
-
Feel: Works with gloves, in the rain, in the cold—no brittle failure.
Plastic still has its place for permanent cable work, but for daily bundling the rope-based zip tie knot wins on cost, comfort, and sanity.
Quick Reference: The Whole Method on One Card
- Goal: Reusable “zip tie” from rope.
- Knot: Jam Hitch (a reversed taut line hitch).
- Steps: Wrap object → two outside wraps, one inside wrap → dress → slide knot body to cinch → load to lock.
- Continuous loops: Alternate the inside wrap direction on every other hitch.
- Materials: Polyester accessory cord (best), nylon paracord (okay), avoid slick HMPE unless you add wraps and test.
- Use cases: Bundles, hanging loops, soft lash-downs.
- Not for: Highway cargo, critical safety loads.
- Fix creep: Add an outside wrap; switch to grippier cord; re-dress tighter.
Why Use the Zip Tie Knot (Jam Hitch)
Learn this once and your shop, truck, and camp life get cleaner overnight.
The zip tie knot is fast to tie, faster to adjust, and it gives your rope back at the end of the day.
Remember the formula: two outside, one inside, slide the knot body to cinch, and load to lock.
If you want a whole rail of hanging loops, flip that third wrap every other hitch and build your rack in rope.
Clean, quiet, reusable—and no plastic tails stabbing your hands.