Heading to your next camping adventure soon? Don't leave home without learning about these three types of campfire. You can watch the video above and practice at home. But before that, I'll first show you what steps I took to make this as fair of a comparison as I can manage.
I first harvested all the wood from the same tree. Next, I split all the logs into equal-sized pieces as I could manage and divided them into three equal piles. Next, I weighed the piles and added exactly one pack pouch worth of birch bark for each one. I also used a moisture meter to make sure the moisture content was pretty even for each stack.
How to Build the Teepee Campfire
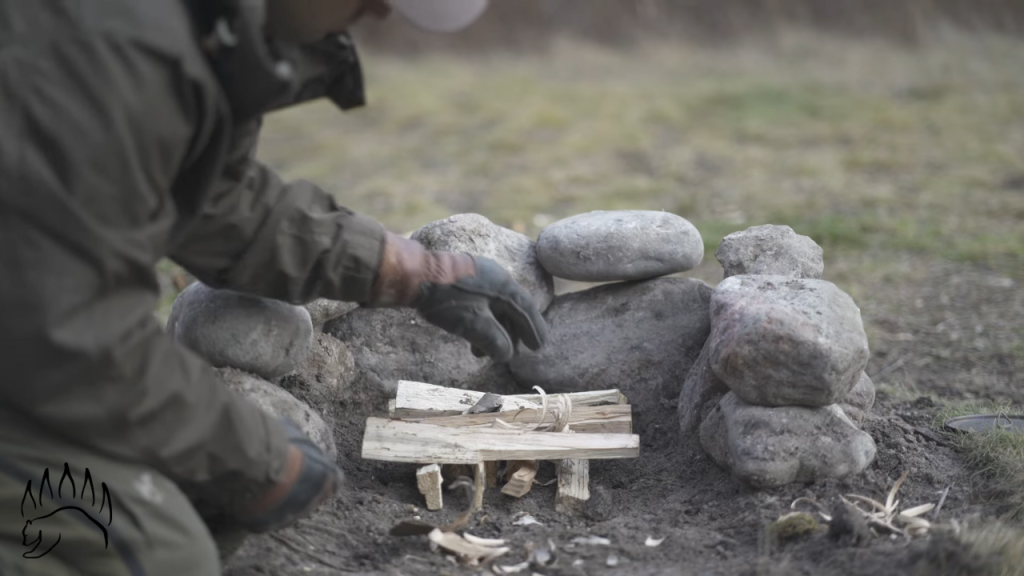
Our first campfire is the Teepee fire. It's one of the fastest and easiest fires to build and gives off some nice high flames, ensuring immediate warmth if you're sitting above the fire level. Plus, it is incredibly easy to maintain.

Step 1:
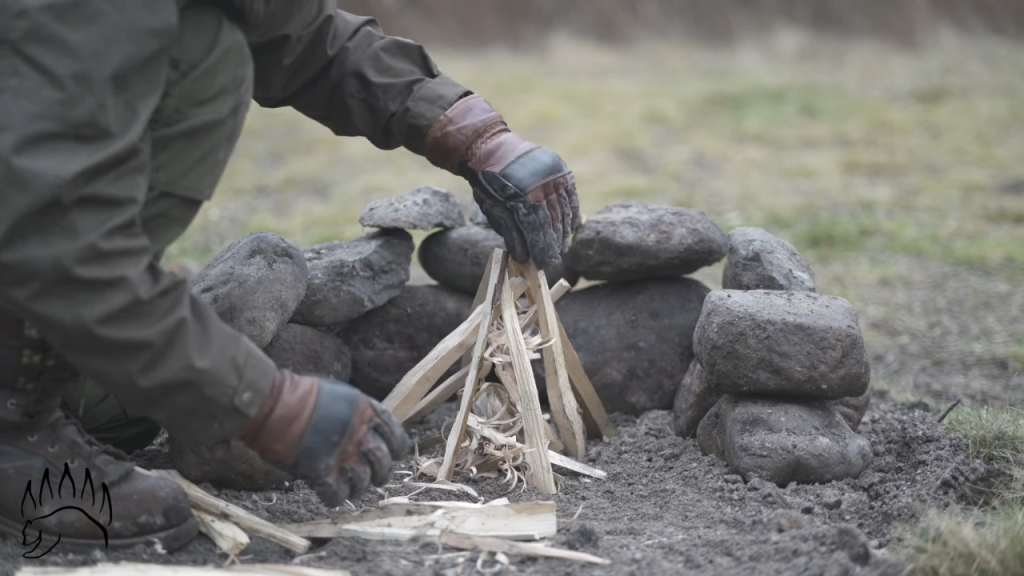
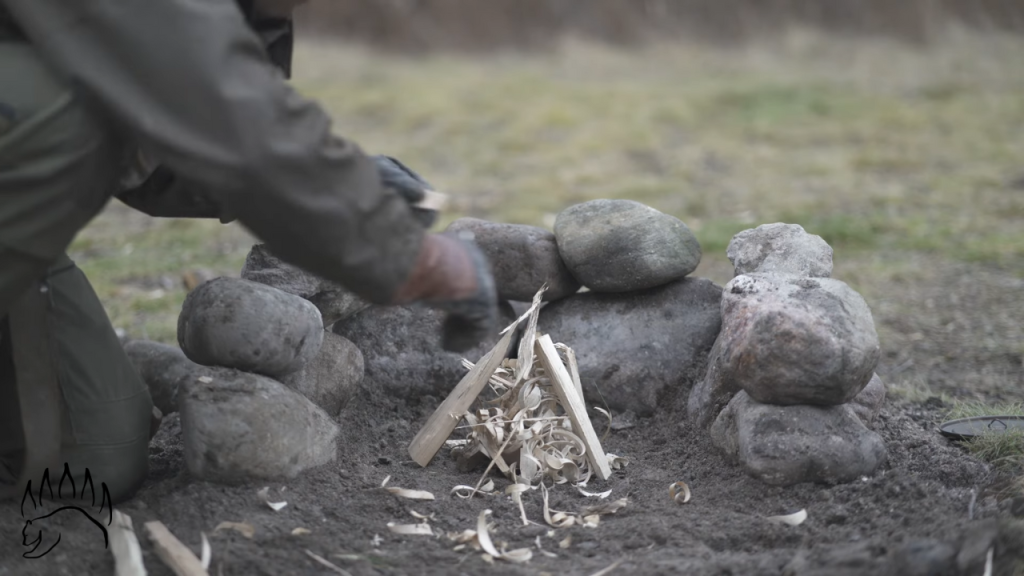
We begin by constructing a tinder bundle composed of birch bark and toothpick-sized twigs. Next, fashion feathering on your stick by slicing thin curls. These lightweight pieces serve as excellent kindling for igniting the core of your fire.
Step 2:
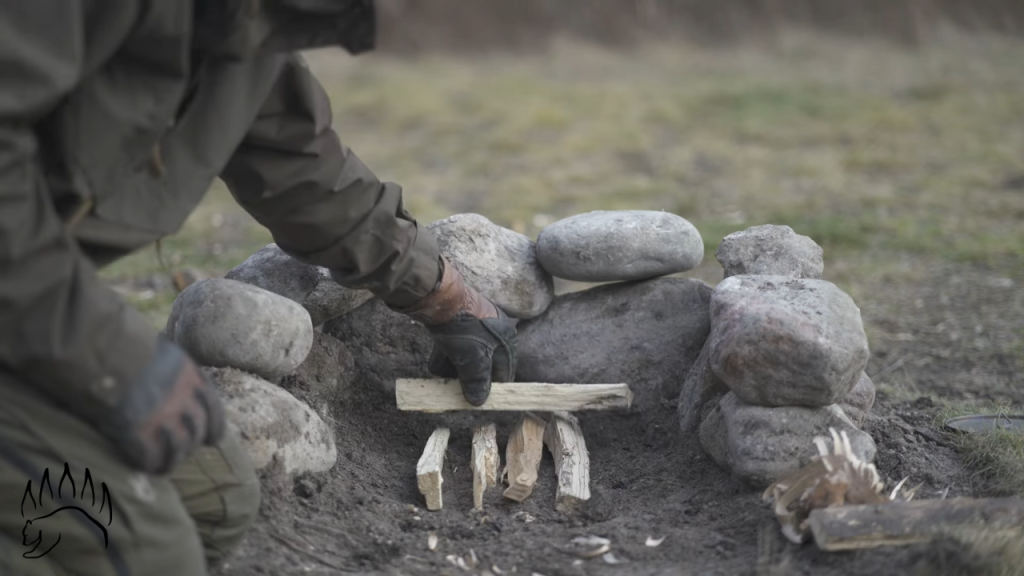
Stack logs or sticks up against one another, forming a shape that resembles the supporting structure of a Teepee. Make sure there is enough spacing between the sticks for ventilation, or else your fire will smother out before it catches on.

Step 3:
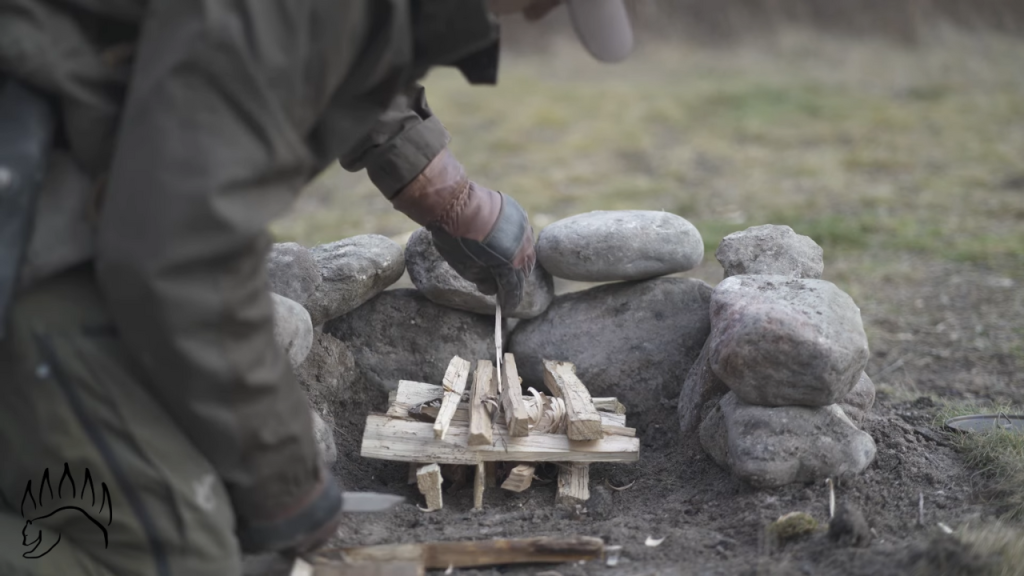
Light it from the bottom up. That heat is going to rise and ignite.
How Quick Does the Teepee Fire Ignite and How Long Does it Last?
Time to Ignition

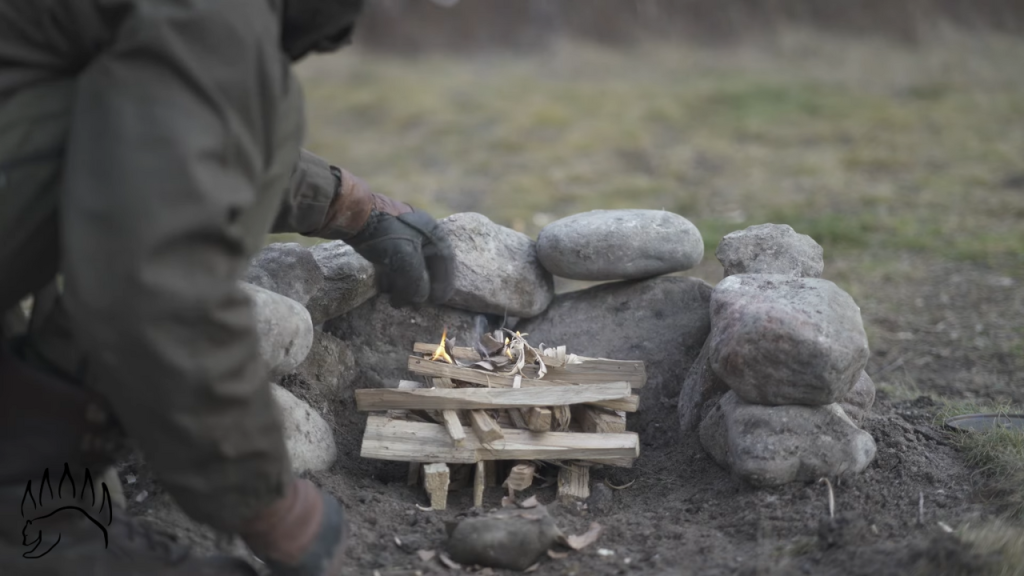
Taking a look at the thermal camera, we can see how this fire contains the heat to the center, and it is like protection from the elements as it builds up. But there is a trade-off. The tinder bundle in the middle is so protected that it may burn out entirely before the fire fully catches on. Under the thermal camera, we can see that the heat is there and it is building.
Fire Lay Maintenance
But this is a point where a campfire requires a bit of maintenance. My initial maintenance on this fire is about 7 minutes in. At this point, the logs just require a bit of rearranging and maybe a few more pieces of kindling to get it going.

Now, we can see as this fire grows that heat is going vertical – which is good if you are sitting up higher, like on a chair or a log, and you want to feel that heat fast.
Drying a Sock in Front of a Teepee Campfire
I headed down to the water to wet one of my big wool socks to see just how well each of the fires would do at drying it out. When I got back, this fire was already roaring. We can safely say it was fully involved at about 10 minutes. With the thermal overlay, we can now see that heat is being produced in pretty much every direction.

But at 14 minutes and 45 seconds, we now have our collapse. One thing to note here is that it didn't happen in this example. Sometimes when a Teepee fire does collapse, it'll simply smother itself completely out. This is something to watch for when camping.
Heat Distribution
The temperature here is measured in degrees Celsius. If you don't quite know the conversion, don't worry. You can still see the relative heat distribution, with the back of the rocks fairly cold, but the front starting to absorb some heat.
Testing the Cooking Coals
At this point, we've reached some good cooking coals. Testing their quality, I filled up about two cups of water in a titanium pot and set it directly on those coals. With ample heat still concentrated in the center, it took precisely 7 minutes and 30 seconds for the water to boil, leaving the sock notably dry.
How to Build The Log Cabin Fire
The next fire we're examining is the Log Cabin fire, renowned for its smooth, steady burn with minimal collapses. It boasts even heat distribution and demands slightly less upkeep. As the second most favored campfire layout, it's just a tad more challenging to perfect compared to the Teepee fire. Here's how to construct it.
Step 1:
Start with your tinder bundle in the middle. Do it the same as how you made the Teepee fire.
Step 2:
Stock a bit of kindling on there just to make sure there's going to be fuel in the middle to get the whole thing going.
Step 3:
Form the structure, which is a base of four fuel logs. You're now just going to keep building up and stacking just like you would a Log Cabin. Every layer up is going to be closer and closer to the center.
Step 4:
Similar to the Teepee fire, light it from the bottom up.
You might find this fire lay a little bit harder to light just because the frame itself is kind of a barrier to getting that flame into the tinder bundle. But be patient, and you’ll have a nice, toasty fire in no time.
How Quick Does the Log Cabin Fire Ignite and How Long Does it Last?
As that fire starts going, we can use a time-lapse to see how it spreads.

That tinder bundle in the middle has fully engulfed into flames, and now that heat is spreading equally in every direction. Now that we're approaching the 7-minute mark, we can see that the center tinder bundle is burned out almost completely.

At around 8 minutes and 30 seconds, this fire is ripping pretty good. Using the thermal camera, we can see exactly how the heat is distributed in a pretty even way.
However, because the Log Cabin fire has this large base at the top, embers, coals, and fuel are going to be constantly falling. This keeps the fire going, so you don't have to maintain it at this point.
Wet Sock Test and Fire Collapse

The wet sock comes in at around the 10-minute mark, and after no time at all, it's heated up to a significant temperature that we didn't see with the Teepee fire.

This is primarily because the Log Cabin fire keeps the heat lower, whereas the Teepee fire disperses that heat in a more vertical fashion.
At just shy of 14 minutes, we see our first thing that resembles a collapse – which is just a minute shy but still in the same realm as when the Teepee fire collapsed.
Using an Open Fire Pit or Fireplace?
The Log Cabin fire is the one you want to choose if you have an open fire pit or you're using it in a fireplace. Why? Because the Teepee fire is prone to sudden collapse, and that could end up in a log rolling away. With the Log Cabin fire, you don't experience that.
Log Cabin Fire Maintenance

At about 17 minutes in, my first bout of maintenance is required as the fire is at risk of going out. It doesn't require much, and I don't need to add anything to it. I'm just going to gather all the embers into one spot because the outside of the fuel logs aren't burning.

The Teepee fire required some maintenance at around the 7-minute mark and then a little bit more throughout its burn. Whereas the Log Cabin fire only needed maintenance once at around the 17-minute mark.
Cooking Coals

At almost the same time as the Teepee fire, we have at 24 minutes some beautiful cooking coals. So, we add our two cups of water and place the kettle over the coals. Right at pretty much the same time for the Log Cabin and Teepee fire (7 minutes and 30 seconds), the water has boiled.

Plus, the sock test results in the sock being a little bit more dry than the Teepee fire.
How to Build the Upside Down (Reverse Fire)
One of my personal favorites is the Upside-Down or Reverse fire, which is a more advanced and lesser-known fire. That’s because it takes some patience, practice, and skill to get it going.
But the trade-off is that once it does get going, there is little to no maintenance required, and you'll be rewarded with some of the highest quality cooking coals. Here's how to make it.

Step 1:
Start gathering your tinder bundle. Once you have a decent amount, set it aside for now.
Step 2:
Take your largest fuel logs and arrange them in a column across with a little bit of space in between.
Step 3:
The next layer will be in a row perpendicular to your first layer.
Step 4:
You will now fill the gaps in between with some of the kindling you set aside. Start to add some kindling, as well as some of those feathered sticks or little wood chips. That'll help sustain the fire as it builds.

Step 5:
Now, build the next layer in a column perpendicular to the one below and again fill the gaps with both tinder and kindling.
Step 6:
To finish this off, just add a top row, and again layer up with smaller sticks. As you build the lay, add a bunch of kindling and tinder to the top in preparation to light it.
Step 7:
This fire is lit from the top down. Hence, the name the Top-Down, Upside-Down, or Reverse fire.
How the Upside-Down Fire Works
This fire lay is advanced, requiring precise spacing and proper filling with tinder and kindling. When lit from the top, the flame is vulnerable to wind and elements unlike other fire styles where the tinder bundle is protected. By stacking layers of tinder and kindling, this fire slowly ignites from the top down, maximizing efficiency and heat.
How Long Does it Last and the Wet Sock Test
Now for reference, it took 8 whole minutes to get to this stage here, which is just when the fire starts to go. With the 10-minute mark, I add the wet sock in. But the fire still really hasn't caught.

But by the 12-minute mark, it's fully engulfed. With the thermal overlay, we observe that the sock reaches its highest temperature compared to the other scenarios. At 16 minutes and 30 seconds, we witness what's almost a collapse, though minimal, as the fuel continues to burn efficiently until the end without needing any maintenance post-initial ignition.
Cooking Coals

The fire just slowly burned on its own and turned into a condensed massive heat. This will eventually turn into the perfect cooking coals. It took 26 minutes and 30 seconds to get to the perfect cooking coals. Finally, it took only five minutes for the water to boil. This was 2 1/2 minutes less than the other two fires.
Which Campfire is the Best?
Now that we've tested all three fire lays, I can't definitively say that anyone is better than the others. Instead, they all just have their distinct uses. Let’s discuss the pros and cons of each fire lay.

Teepee Fire
This one I'm going to classify as the social fire. This is such a classic go-to fire because not only is it the best-looking fire. But it's also geared towards spreading heat upwards when sitting around a fire socially.

Because it requires pretty frequent maintenance, it's easy for anyone in a social setting sitting around a fire to just lay logs and stack them in on that Teepee. It's one of the easiest and quickest fires to make it hit its maximum burn temperature very quickly. Overall, it is one of the best fires you could build.
Log Cabin Fire
The Log Cabin fire is one I like to dub the Ol Faithful. It's a steady and reliable fire type and solid in every aspect. It's not hard to build, doesn't require much maintenance, looks great, is effective for drying out clothes, and produces a very uniform heat spread overall.

The verdict? The Log Cabin fire should be part of every camper's skill set.
Upside-Down Fire aka Reverse Fire
The Upside-Down Fire might be my favorite type of fire, and I like to dub it the utility fire. While it does take the most amount of setup and the most amount of skill, it makes up for all of that and more by its ability to be completely maintenance-free.

Be prepared to spend more time blowing or fanning on it as it has a very slow start, but there's an upside to it. That means I can set up this fire and then go around the camp while it's building up. I can also do some other tasks without having to watch it every single second because I know it won't go out; when I do get back to it, it's going to have perfect cooking coals left, and almost all of that wood has burned very efficiently.
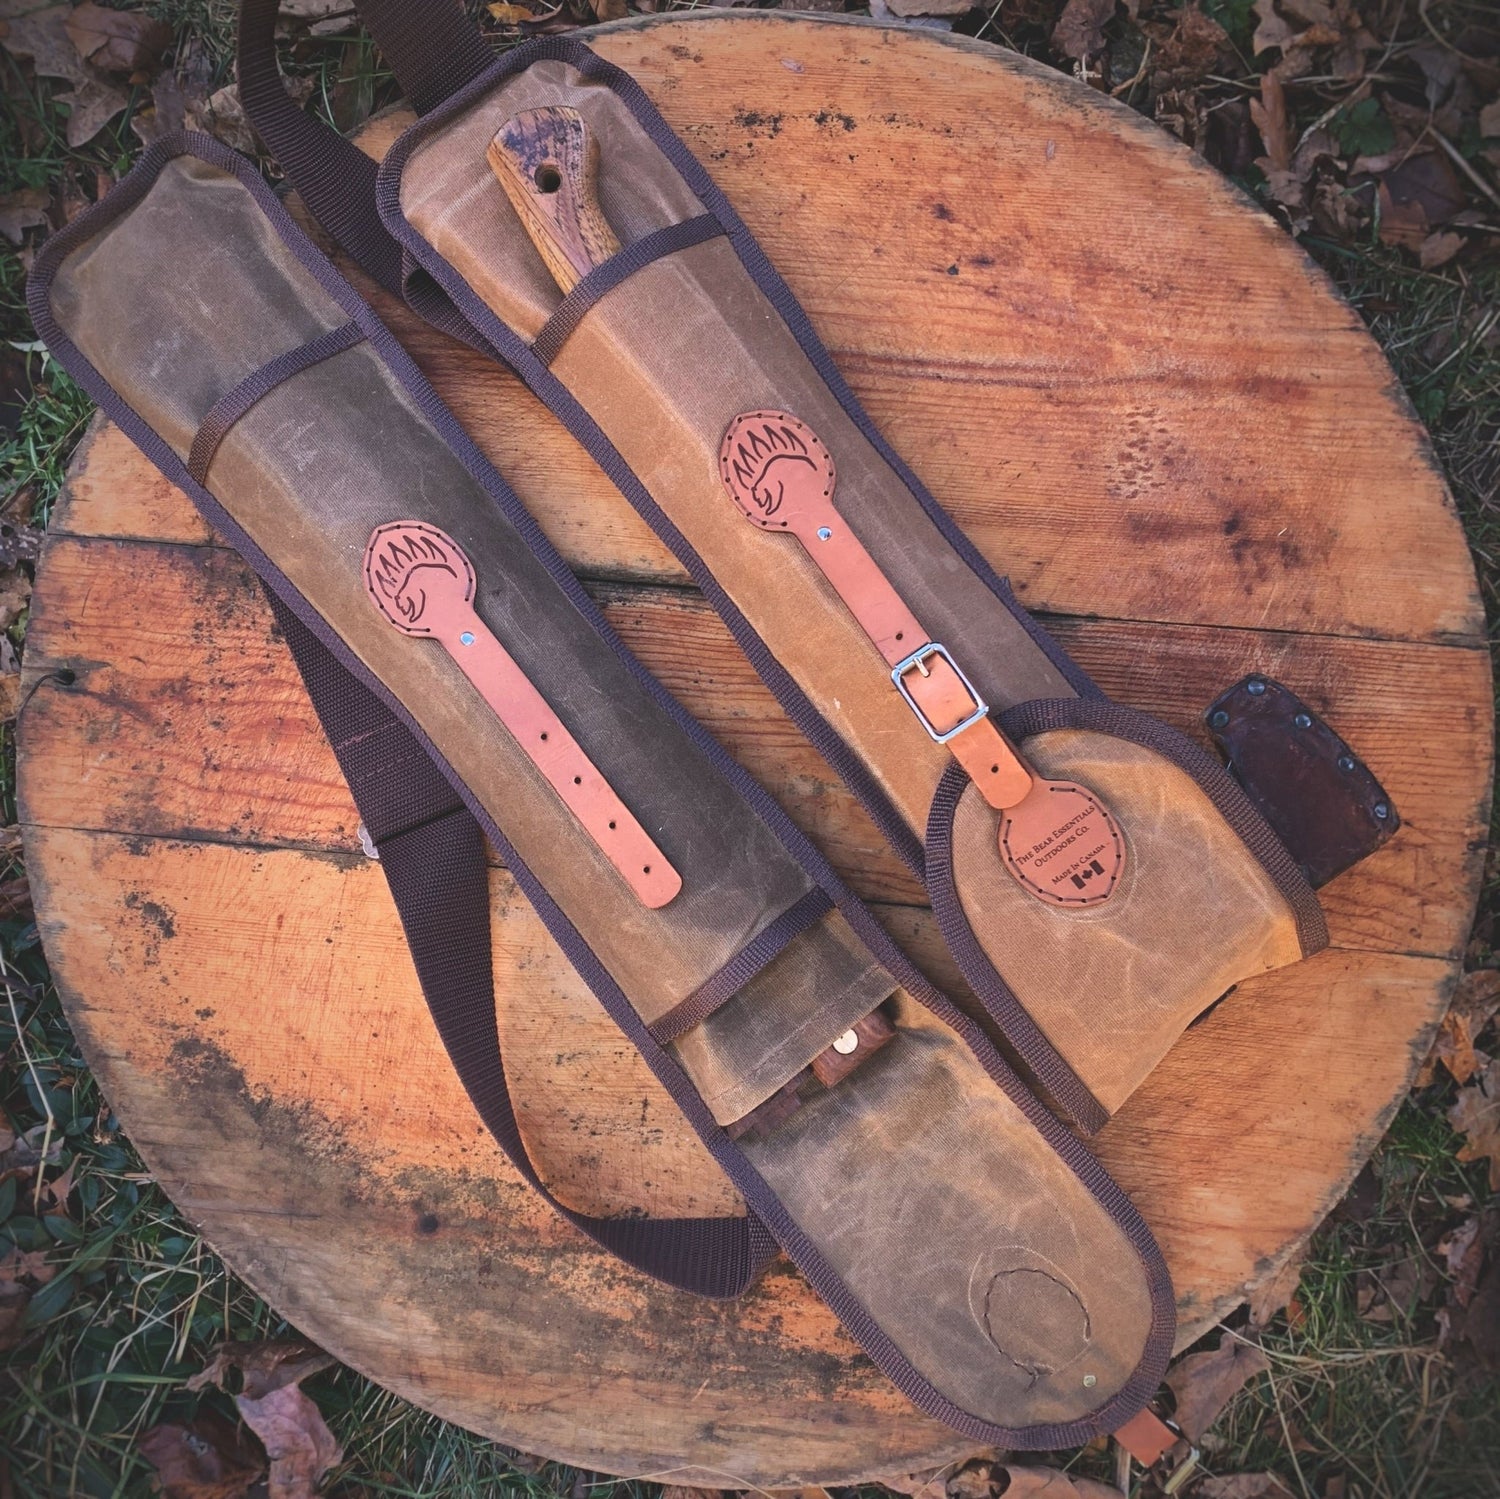
Explore bushcraft tutorials. Complete your camping gear with The Bear Essentials Outdoors Co.'s Original Bucksaw! Use it to cut firewood for your Teepee or reverse campfire. This lightweight bucksaw is compact and easy to carry, and you can include a canvas sleeve to protect your other gear. Order yours today!